Acclima

How to Update Acclima DataSnap and Solar DataSnap Firmware

The Acclima DataSnap™ and Solar DataSnap are simple-to-use, stand-alone, SDI-12 universal data loggers with powerful features. This article will help you keep your SnapView DataSnap firmware updated.

Table of Contents

Acclima Solar DataSnap SDI-12 Data Logger

Step 1: Download SnapView on Computer

Prior to updating the firmware on your DataSnap or Solar DataSnap data loggers, you must download and install the Acclima SnapView software on your computer. Click the button below to download SnapView.

Step 2: Install SnapView

The SnapView software must be installed prior to connecting the Data Snap to the computer. The DataSnap requires a Windows™ driver to be installed before use. The driver is installed during the installation of the SnapView software.

After SnapView is downloaded, click the file to launch the installer.

The first setup screen will look like this.


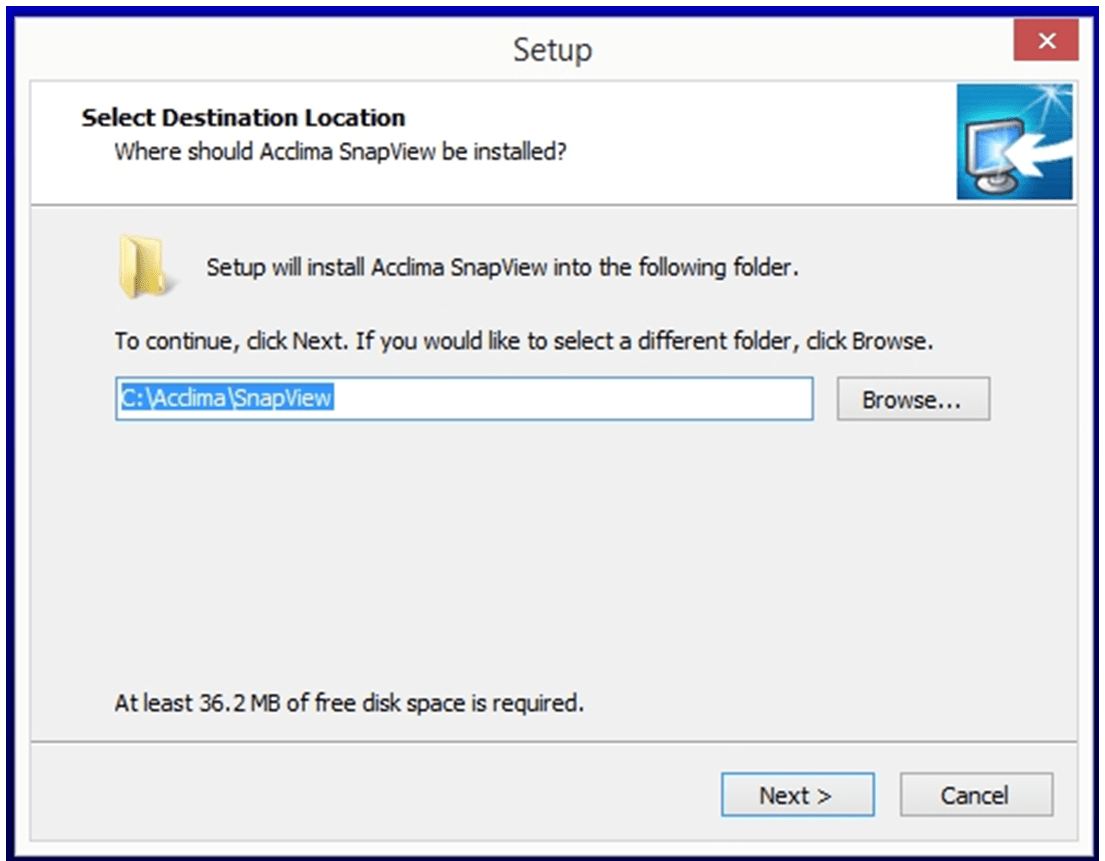
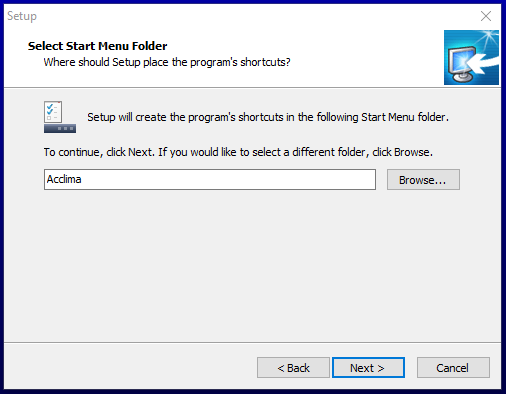
Choose which folder to install SnapView in and click ‘Next.’ Then select the Start Menu folder to save your SnapView shortcut into and click ‘Next.’

Select Start Menu Folder Screen


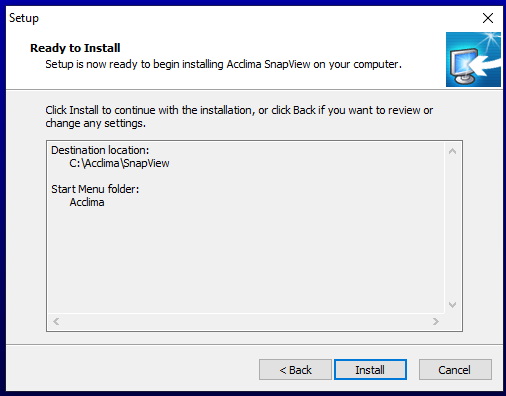
You will then see a “Ready to Install” screen. Click the ‘Install’ button.

Ready to Install Screen


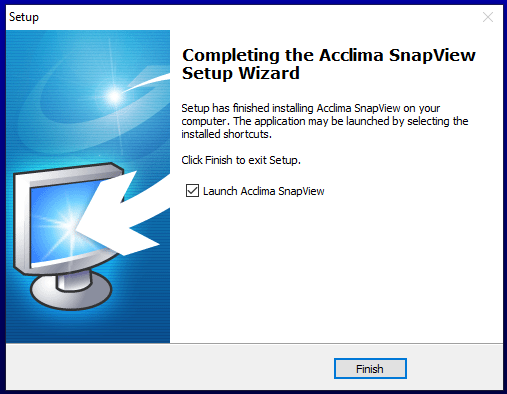
After the progress bar completes, you will be taken to the following screen. Click ‘Finish’ to close the installer and launch SnapView.

Completing the Acclima SnapView Setup Wizard Screen


Step 3: Download the Appropriate Firmware Update on Computer

Next, you will download the appropriate firmware update file by right-clicking one of the buttons below for either the Acclima DataSnap or Solar DataSnap data logger and using the ‘Save link as’ download option.

Step 4: Connect Data Logger to Computer with USB

Once the software is installed, connect the DataSnap to the computer via a USB cable. Windows™ will automatically detect the hardware and attempt to find the appropriate driver. The driver installation process will only occur once per DataSnap. Each new DataSnap will follow the same process.

Step 5: Upgrade Firmware from SnapView

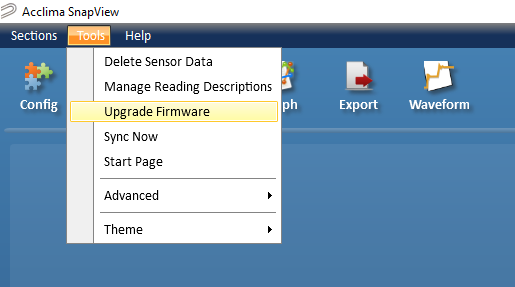
Now that your DataSnap is connected and the driver is installed, you will go into SnapView and navigate to Tools > Upgrade Firmware, as seen below.
SnapView Upgrade Firmware Button
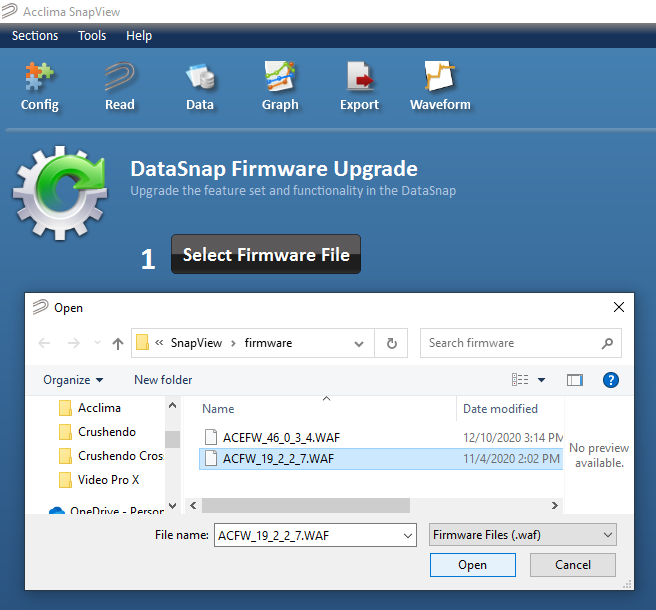
Now, click the ‘Select Firmware Upgrade’ button and choose the appropriate .WAF file (standard DataSnap file begins with ACFW and the Solar DataSnap file begins with ACEFW).
Select the Firmware File Setup Screen
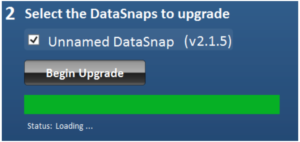
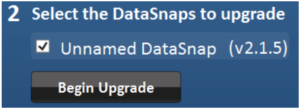
Now, choose the DataSnap you desire to upgrade and click ‘Begin Upgrade’.
Select the DataSnaps to Upgrade
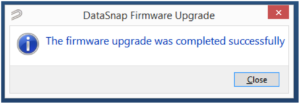
You will see a green progress bar, followed by a success confirmation.Status BarFirmware Upgrade Complete
 
Your DataSnap firmware upgrade is now complete and you can begin using the SnapView software with your data logger. 
 
Scroll to Top