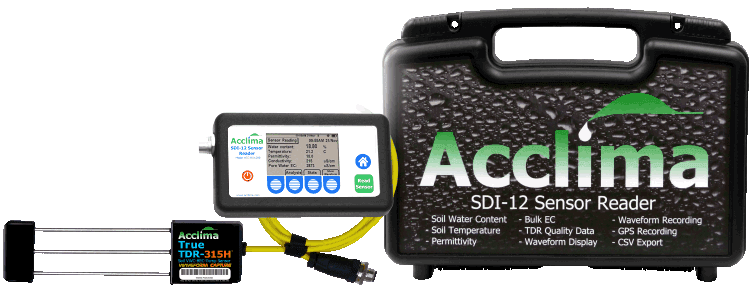
- This kit can be used for updating/upgrading sensor firmware and collecting measurements on the fly.
- The Acclima Reader comes preloaded with the latest update files for your sensors.
- For any issues contact your Acclima Rep.
Package Contents
1x Acclima Reader
1x Acclima USB 2.0 Flash Drive
1x Acclima Quick Connect Cable
1x Micro USB Charging Cable
1x AC Wall Adapter
1x International Wall Adapter
1x Probe Guide insertion Tool
Required Components
The required components to perform firmware updates are the Acclima Reader, Quick Connect Cable, and a micro-USB flash drive (if update files are sent to the user directly).
Update Files from Acclima
If you have received firmware update files directly from Acclima.
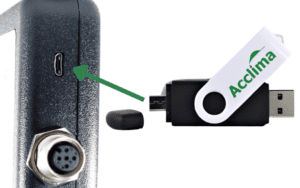
- Save the update files into the \Acclima\RD1200\Updates folder in the drive.
- Plug the flash drive into the micro-USB port and power the Reader [On].
- Wait for the synchronization to complete and remove the drive.
Note: If new Reader updates and sensor updates are loaded onto the flash drive together. The Reader will need to synchronize with the flash drive twice.
Method 1
Connect the Sensor block directly to the Reader.
- Screw the quick-connect cable onto the M-12 connector on the Acclima Reader.
- Plug in the SDI-12 terminal block into the green quick
connect port. - Ensure that the SDI-12 terminal blocks are terminated to correspond with the SDI-12 specification.
Method 2
Connect the Sensor pigtail wires to the Quick Connect Adapter cable.
- Screw the quick-connect cable to the M-12 connector on the Acclima Reader.
- Plug the sensor’s pigtail wire terminals into the colored-coded alligator clamps.
- Press the red button to power the Reader [On].
Update All Feature
Use the Update All Feature to quickly update multiple sensors at a time.
- On the home page, press the ‘Sensor’ button.
- Press the ‘Tools’ button.
- Press the ‘Update All Sensors’ button.
- Press ‘Begin’ to start the Update All sequence.
After Pressing ‘Begin’
After pressing ‘Begin’ the Reader automatically performs the following tasks.
- Enters Bussed Mode to detect multiple sensors.
- Scans for each sensor with unique addresses.
- Determines the best speed to perform the updates.
- Transmits and replaces update files.
- Auto restarts update for failed probes.
- The Update Report screen counts all update attempts.